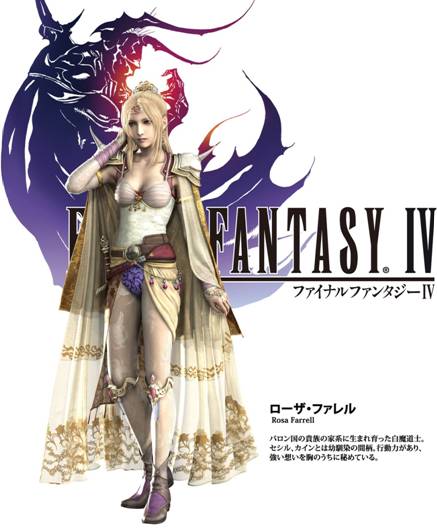
Costume: Rosa Farrell
Source: Final Fantasy IV for Nintendo DS
Costumer:
Alias: “Charmedseed”
Location:
With the re-release of the Final Fantasy IV game for the Nintendo DS, new character designs were also introduced to usher in the improved game. Having been a fan of the first, I eagerly awaited the release and played through the new-yet-familiar universe.
This documentation will detail the creation and construction process in photographs and text, to accompany the final presentation in person here at Dragon*Con 2009.
Bodice:
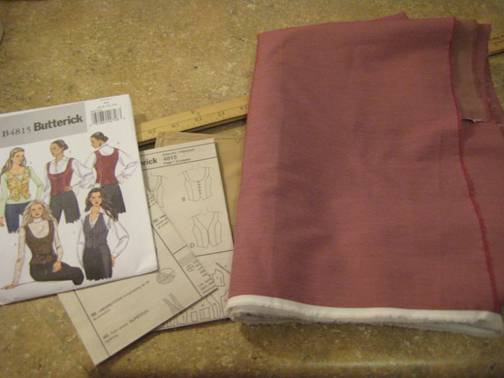
The underlying structure of the bodice is based on this cotton poplin. It is a substantial enough fabric to support the other sections of the bodice as well as the eventual addition of the pauldrons. A low-cut ‘vest’ type pattern was used for similarity of shape.

 With base complete, the bust detail section
will be supported with a bra structure, to be covered and attached to the rest
of the bodice.
With base complete, the bust detail section
will be supported with a bra structure, to be covered and attached to the rest
of the bodice.
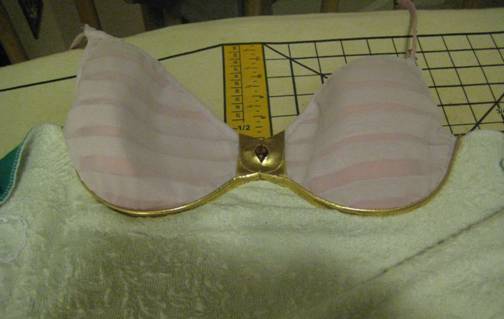
The cups of the bra were separated from the rest of the bra structure to be covered with pleated synthetic chiffon.

The completed pleating:

The pleating was accomplished by essentially sewing pintucks into the chiffon with spaces between. The ‘wrong’ side of the pleats were used to hide stitches and to secure the design (pleats are not shown on front to be loose).
Shown with pleated chiffon handsewn to bra structure.

The second section is made of a double layer of cream stretch lace over blue-green jersey knit to capture the depth and color of the design. The lace and jersey layer of fabric is patterned to accommodate for the bust detail.

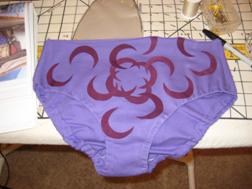
The under layer of the bodice supports the decorative bust cups and the majority of the upper material of the bodice. The bottom is the lace and jersey completed with the purple jersey bottoms, which are patterned from an existing bathing suit bottom. The additional straps and accommodations for the pauldrons complete the bodice.
The bodice has several accents picked out in gold/brass color. The underbust detailing was created with gold vinyl.
A strip of gold vinyl was sewn with a gradually wider seam, and then ‘stuffed’ with craft woven yarn for dimension.
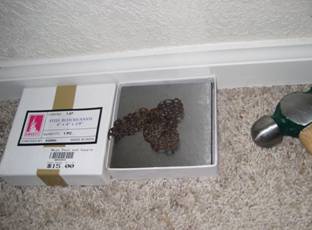
The ‘charms’ for the bodice were cut from a brass sheet and finished by sanding and polishing.


The bottom section of the bodice was made from a jersey knit and the fabric design was applied by heat appliqué.

All were attached and a zipper was installed in back for the final product.
The Armor
The shoulder pauldrons were a distinct challenge. I’ve had some success previously making costume armor from craft foam, but due to the distinctly ROUND shape of these pieces, I knew I would have to resort to other means.
Friends of mine offered the use of their vacuum table with which to mold the pieces from plastic, which sounded both light enough and sturdy enough. My first step was to create a base on which to cast the pauldrons.

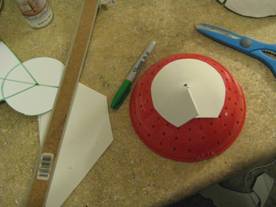
I started with a half-sphere – in fact a small strainer from a dollar store. Fun foam – what I consider one of the most versatile and useful products on the market – was layered on top of the base piece by piece to account for the curve. Painters tape was used to cover the holes in the strainer to prevent the mold from picking them up.
The final base mold, covered in baby powder and about to be cast:
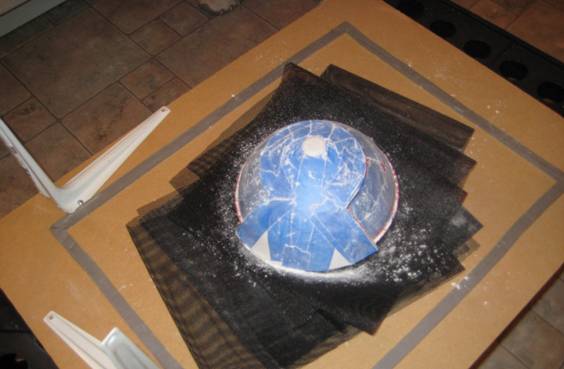
Baby powder prevents the mold from sticking to the plastic, allowing multiple uses.
And the result:

The pieces were cut from the plastic sheeting and the edging was added using split computer cable. The actual edge was created using a whole wire casing, having been split down the middle with an Exacto knife and the inside metal wires extracted.
The second tier of edging was done the same, except that the wire casing was split completely in half, allowing a half round bead. All were applied with hot glue.

With all edging complete:

Because the casting did pick up some of the details of the tape, I applied a layer of Mod Podge before painting. A base white coat was applied and sealed, the gold edging was painted and sealed, and finally the lower design was applied with a paint marker, and sealed.

The spikes were created using wood dowels, carved and smoothed by hand, then painted. They were attached to the main part of the pauldron with hot glue and a foam base support inside.


The
This costume features three capes of increasing lengths, the first being a gold brocade, and the second and third of a lighter, flowing material. Silk was chosen for the second and third for its degree of translucence and for the soft, light hand.
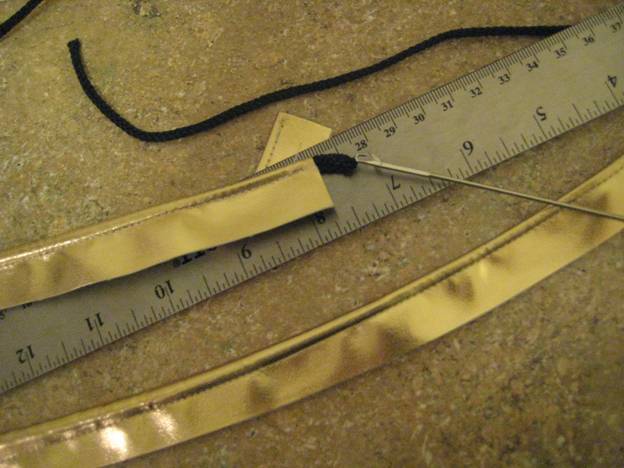
The top brocade cape was created with a fade-out synthetic brocade for an additional level of detail. The fabric was washed to create a softer hand. It is trimmed with synthetic gold fringe.

Measuring for length with trimmed brocade.
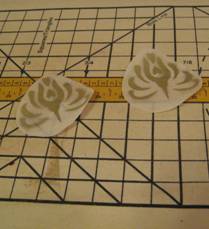
The two lower capes feature designs near the hems in gold. To keep from interfering with the hand and movement of the fabric, a painted ‘embroidery’ was chosen to complete the look. Each design was hand drawn from the illustration, repeated to a piece of muslin in permanent marker, and placed underneath the silk fabric to be painted over.
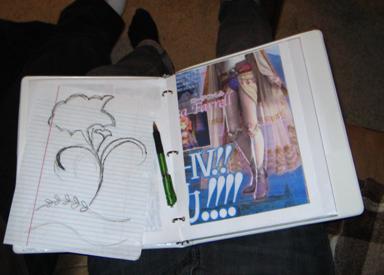

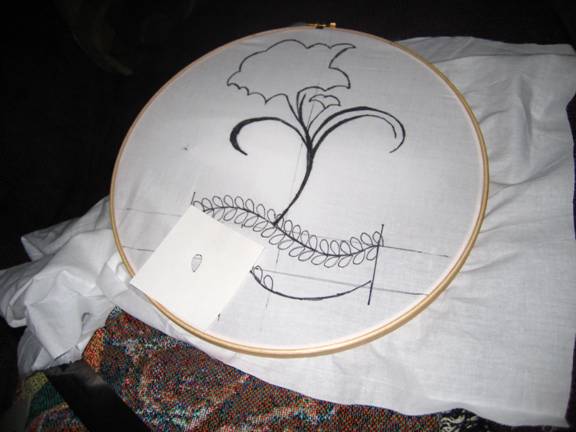
Tracing small leaves into large pattern.
The capes are finished by stitching then serging them across the top, to make
one easy to manage article. The bottom
hems of the silk capes are roll hemmed by serger to preserve more of the hand
and flow of the fabric. They are
attached to the bodice by small snaps, which will release without harming the
fabric of the capes if it’s caught or stepped on.

Accessories:
The belts were created with faux suede in two colors.
The side capes are simply draped synthetic fabrics.


The orange gold cape is synthetic brocade, using the wrong side out. It is trimmed with individual tassles.
The peach side skirt was pleated and serged to create the appropriate shape and secures under the faux leather belts. This is the only piece that drew any blood in the project:

The gold drape is attached to the peach to make one convenient garment. The peach also hides a secret storage pocket.
Jewelry:

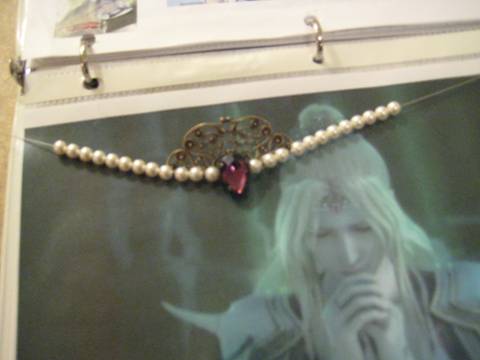
The string of beads and crystals along the left hip are rather a specialty of mine. As a jewelry designer, this was an easy, yet enthralling and very involved part of the production, because I hold my craft in this area to the highest standard.


To make the strand more practical, I chose acrylic beads for the crystals to keep the strand light, and the Miracle beads (Japanese lacquer beads) served both the practical aspect of keeping the strand light, as well as emulating a more glowing effect. The acrylic crystals did not come in the desired color, only clear, and were colored with Sharpie to achieve the desired color.

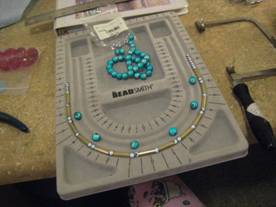
The gold beads were difficult to find in the size I desired, so I resorted to creating my own out of brass tubing. Each bead was sliced with a jewelry saw from the tube, sanded and polished, and is supported inside by small glass beads to keep them from sitting too low on the strand.
The crystal drops are wire wrapped with gold-tone wire to keep with the color of the brass, and all are strung on medium weight jewelry wire. A small antiqued gold lobster clasp on each end makes it easy to attach.
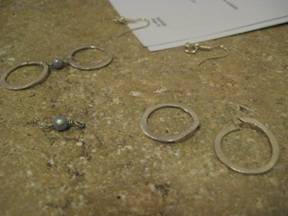
The earrings are silver-plated copper loops with a matching link of a miracle bead between, on silver-plate earwires.

Tiara/Headpiece:
There are two tiaras or headbands worn, one across the forehead at the hairline, and the other on top of the head, at the bun.
A piece of Vintaj brass filigree was the base for both. It was cut in approximately half to provide a smaller piece for the headband and a larger for the tiara. It was slightly flattened by hammer and polished to bring out more of the bright brass color. All pieces and embellishments were attached by wire wrapping.

The (almost) finished headband. It is strung on beading wire with oval jump rings attaching the filigree piece. It is held in place with a piece of elastic looped through the ends on the strand.
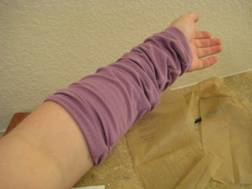
The gloves/armwarmers were created with a cream stretch lace salvaged from a shirt. The arms of the shirt were removed and serged along the original seam line to make them more fitted. A small section of lace was carefully trimmed and added to the bottom cuff to provide the over the hand detail, held in place with a small piece of elastic. The detail was created with gold paint on fabric and heat bonded to the top of the hand section. The gold cuff at the upper arm is gold vinyl.


The purple arm warmers are bamboo jersey knit, simply serged to size.

Shoes:
The base shoes were purchased secondhand in as similar a style as possible, disregarding the color as they would be covered. Excess material was removed.
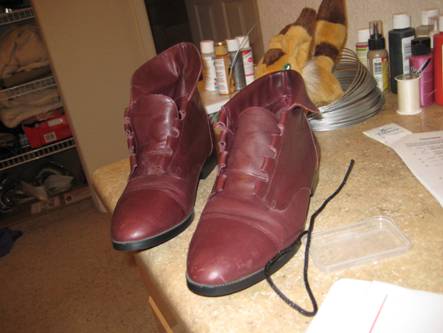
The base purple fabric was glued to the bases.

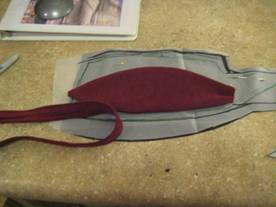
The base purple was trimmed and the second color covering applied.
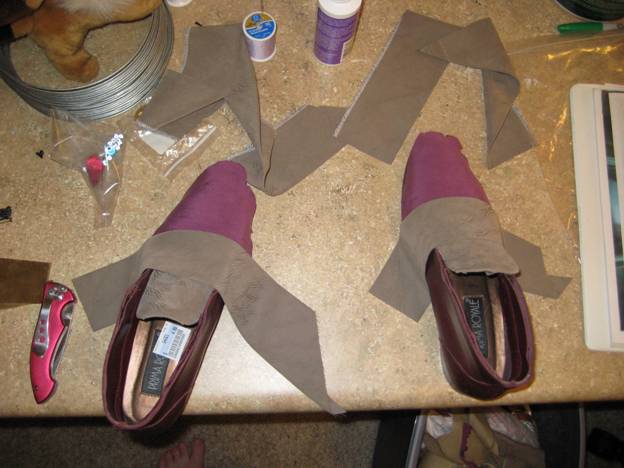
The final top section was made separately and attached.
Belts:
Both belts were patterned from scratch.

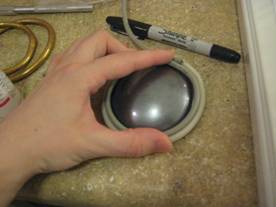
The ‘buckle’ of the brown belt was created with a clear plastic ornament.


It was then coated on the inside with gunmetal paint. The outside rings were created with computer cord glued into rings, sanded, and painted.

A base of craft foam was covered with vinyl and the buckle
glued to it, and then glued to the belt.
The brown belt also holds a secret pouch. The belts were completed and detailed as
seen.
Wig
 The
wig was a unique challenge. Most wigs,
as they’re designed with wefts sewn into an elastic base, do not lend
themselves well to being pulled up, exposing the webbing beneath the
fiber. In this case, I was able to
disguise the exposed webbing by adding more wig fiber in wefts to cover the
‘bald’ spots.
The
wig was a unique challenge. Most wigs,
as they’re designed with wefts sewn into an elastic base, do not lend
themselves well to being pulled up, exposing the webbing beneath the
fiber. In this case, I was able to
disguise the exposed webbing by adding more wig fiber in wefts to cover the
‘bald’ spots.
I began with a ‘Godiva’ style wig that had been used in another project. It needed to be restored by washing and gently combing it. It already had usable long bangs cut into it from the previous costume.

After being restored, the top was pulled back and up, to expose the base webbing so the fiber could be installed.
Additional wefts were purchased, as well as made from scratch with hot glue and loose fiber.
Wefts were glued into place ‘backwards’ and then pulled into the ponytail to cover the wefts and mesh. Additional wefts were inserted under the pulled up section after the ponytail was stubbed to disguise the visible webbing.

After the extra fiber was installed, the top was stubbed, being tied and then glued into place. A braided bun was made with the remaining loose fiber and also glued to the wig.
